
I have been on a major organizing kick. Last week I came across this image clipped by another blogger from Real Simple. I couldn’t find the original, but I decided to try to DIY it anyway.
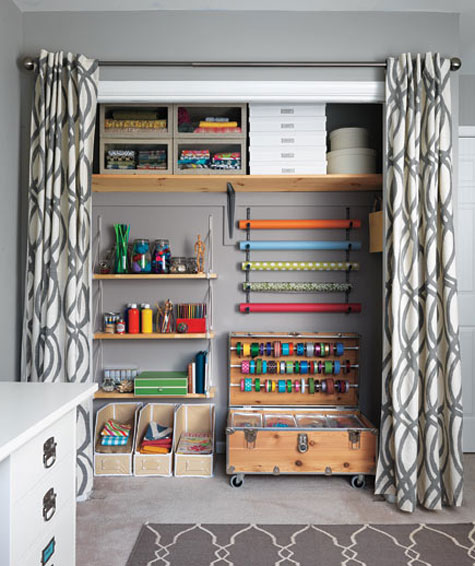
A key component to my studio/playroom/home office organization project was figuring out what to do with all of our gift wrap and gift/party related items. I was storing gift wrap and tissue paper in a large flat plastic box, and gift bags and decorations were stuffed in other gift bags. All of it was (stacked) in a pile on the floor.
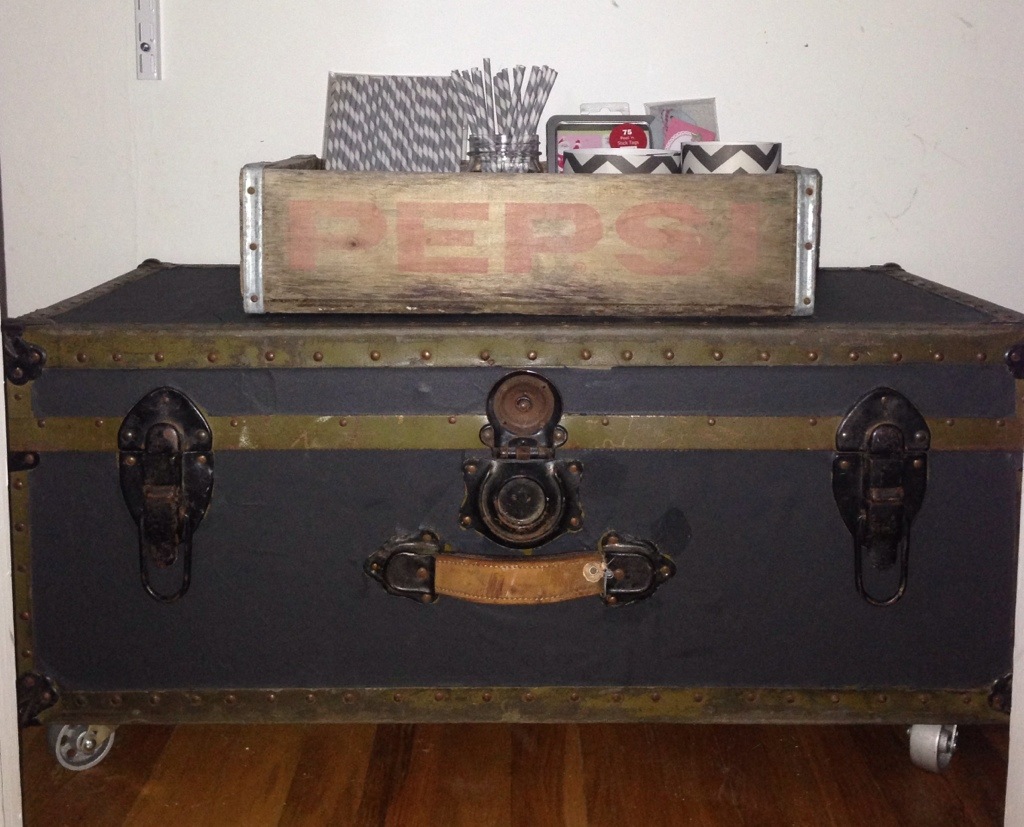
Enter this old vintage trunk.
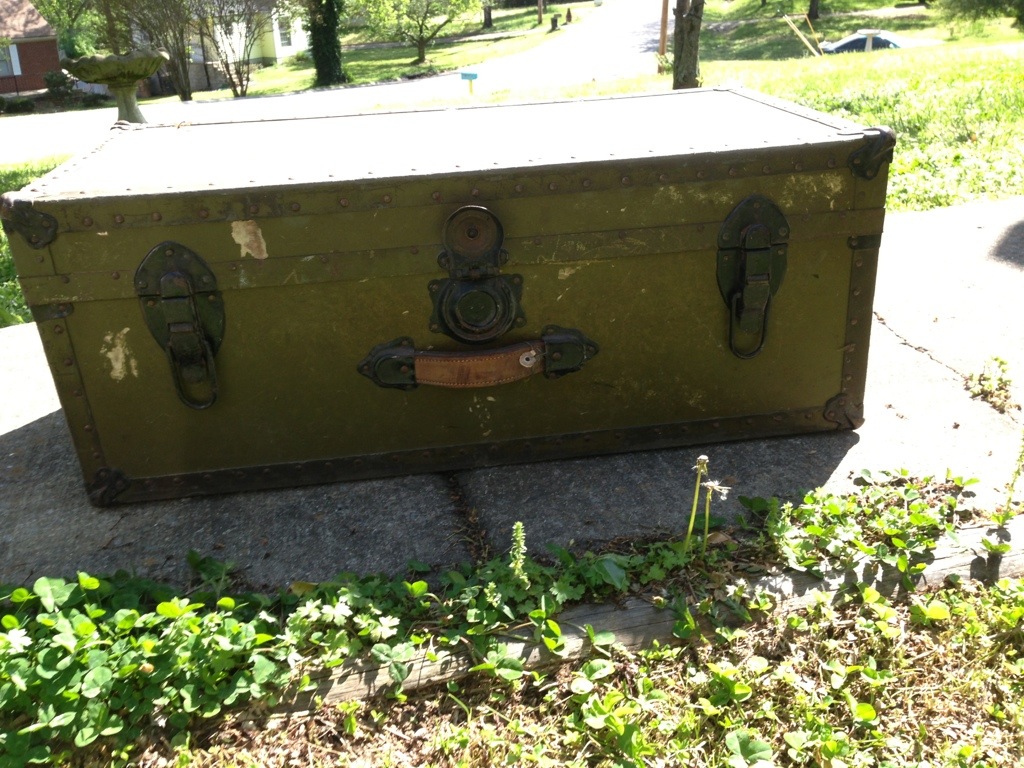
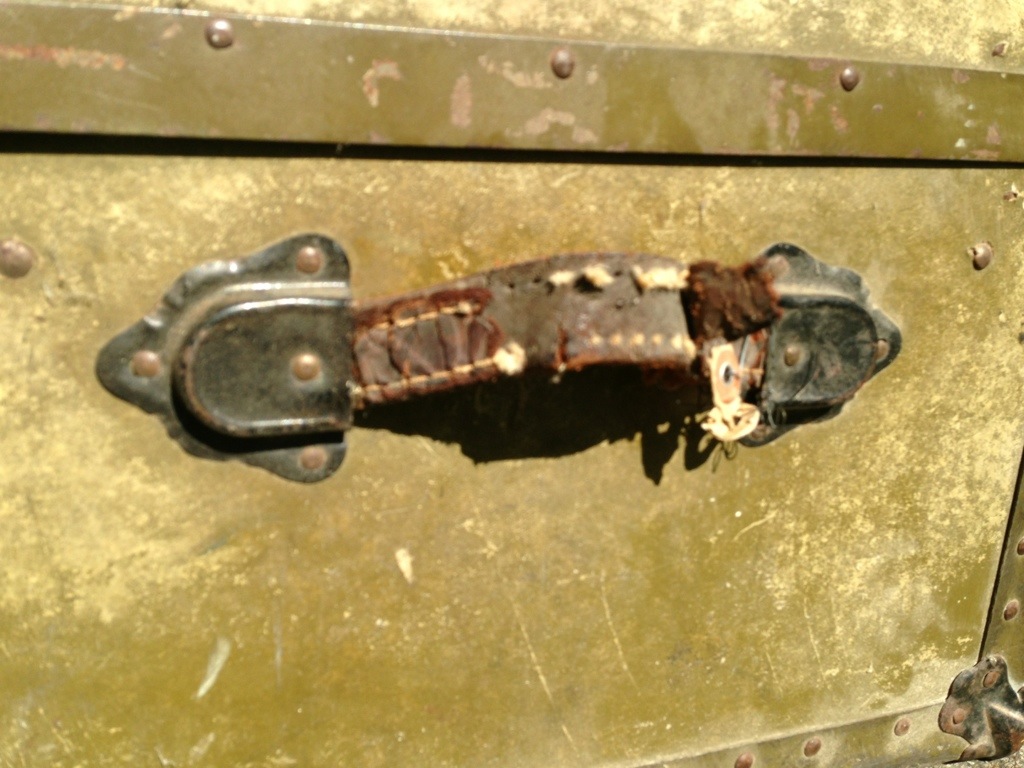
I picked it up at a junk shop in Conway at least five years ago. We’ve been storing it in the garage with some old memorabilia from our high school years. As you can see, it was in need of some work.
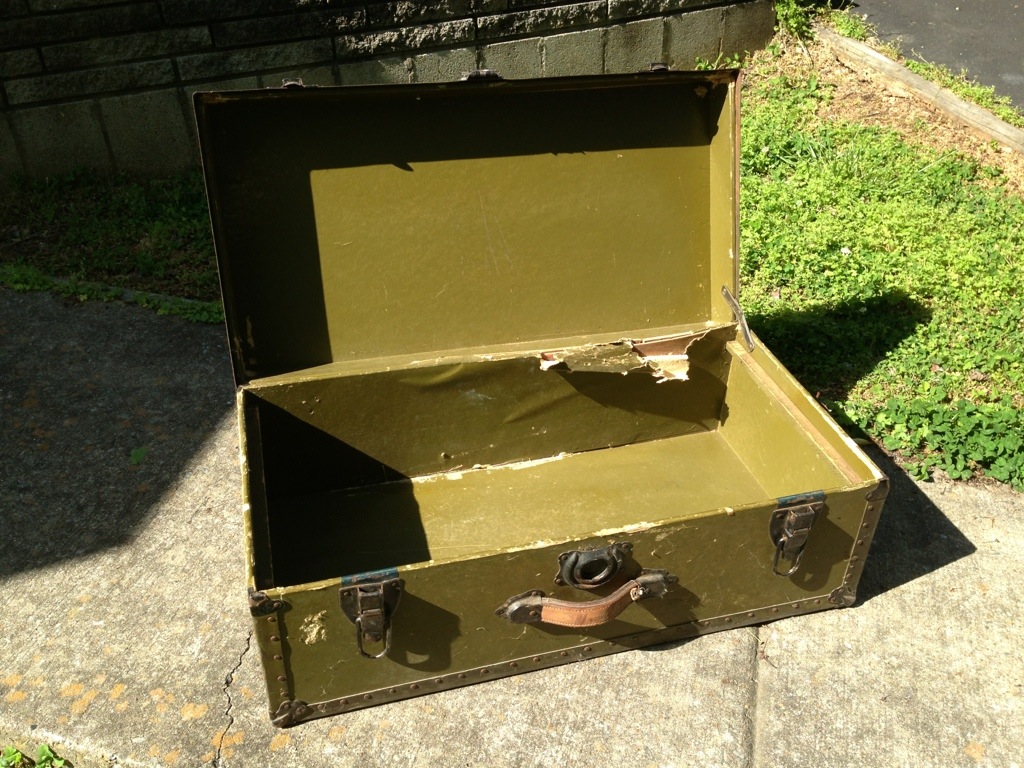

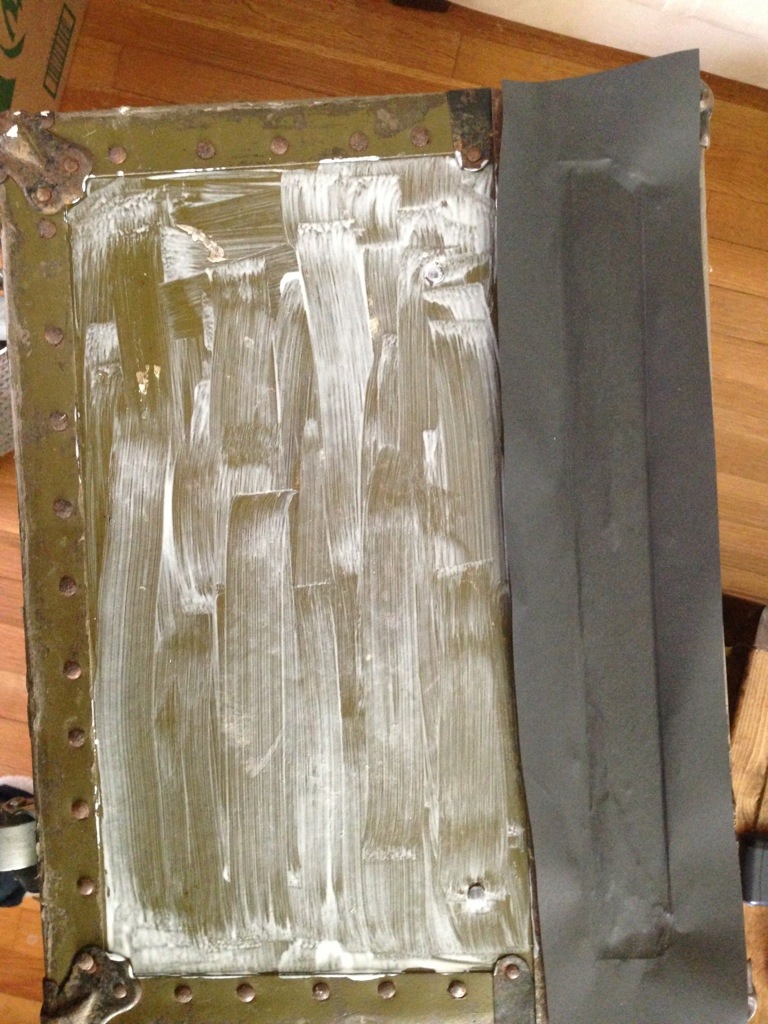
At first, I thought it would be a good idea to just rip off all that old green paper, sand it down, and paint it.

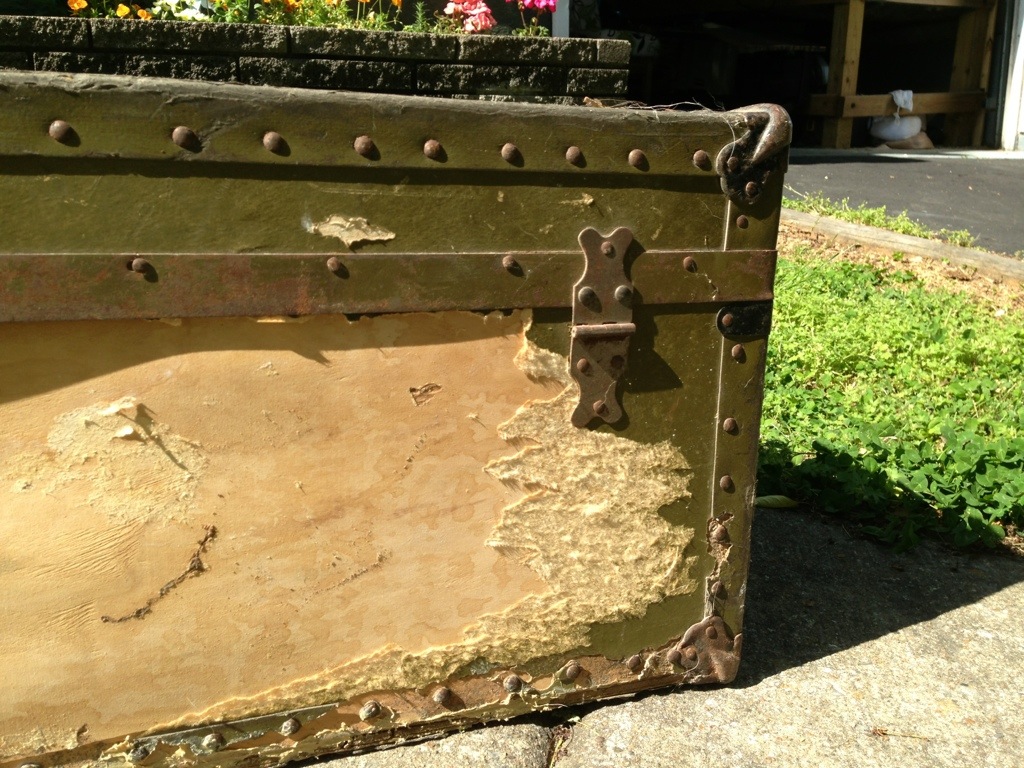
PRO TIP: Do not rip off all the paper. It creates an uneven surface, and it will make your box fall apaprt.
My next idea was to just recover the paper with new paper.
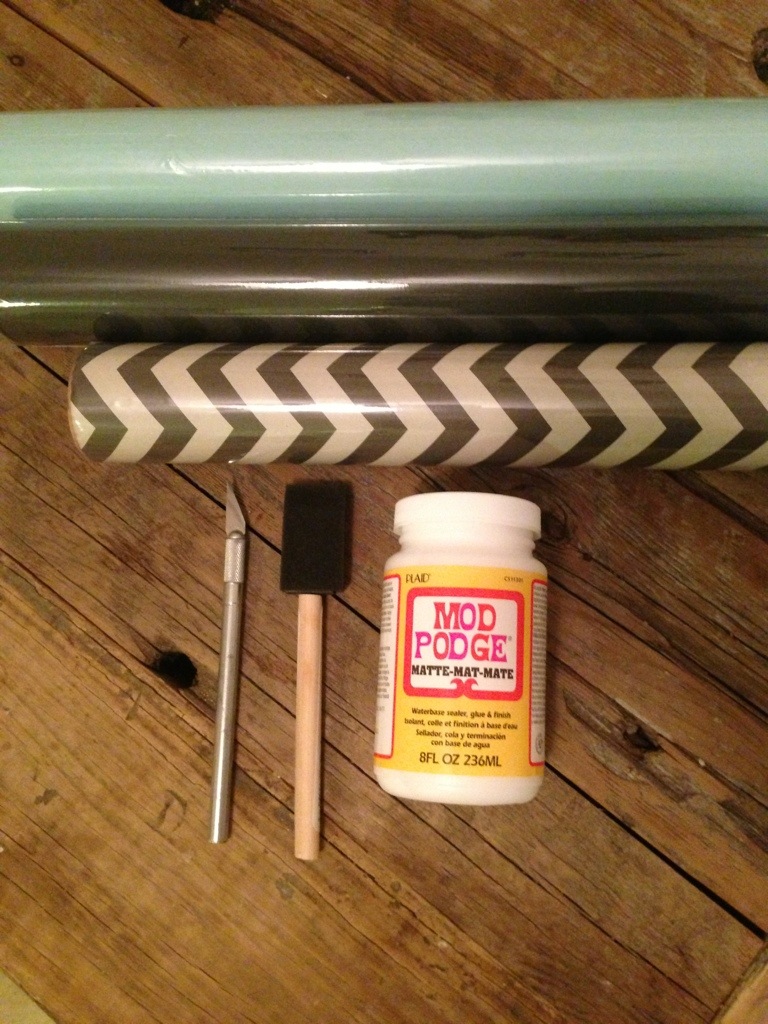
PRO TIP: Choose a good, high quality paper. You’re goal is to protect the trunk and its
contents.
If you’d like to tackle a project similar to this one, here are some simple instructions and tips to help you along.
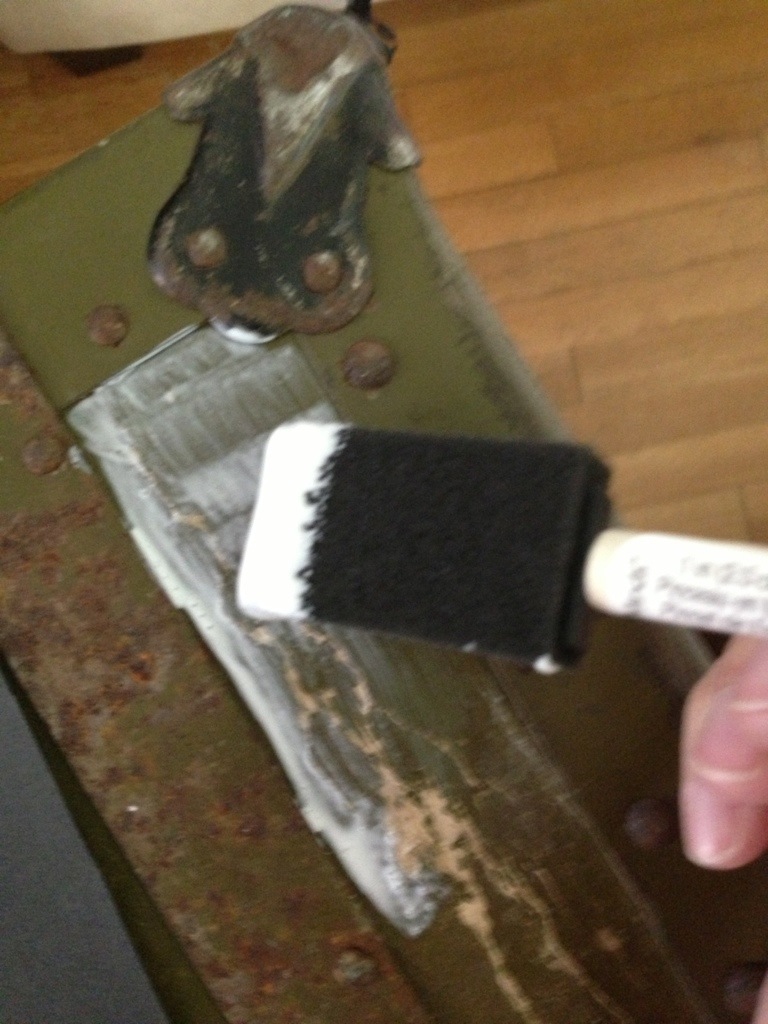
1. Apply a thin coat of Mod Podget to the surface. Use thin, even coats — Mod Podge is basically glue, and if you have thick lines, they’ll show through the paper.
2. Apply your paper in small, workable pieces. Place one corner of a strip down, and holding the other end of the paper in one hand, smooth it down at an angle with the other. If you’ve worked with vinyl or large stickers, the principle is the same. Smooth out any bumps or ridges as best you can.
3. Gently push the papers into and around corners. Get the edges as tight as you can without ripping the paper.
4. Let the Mod Podge set for about 30 minutes.
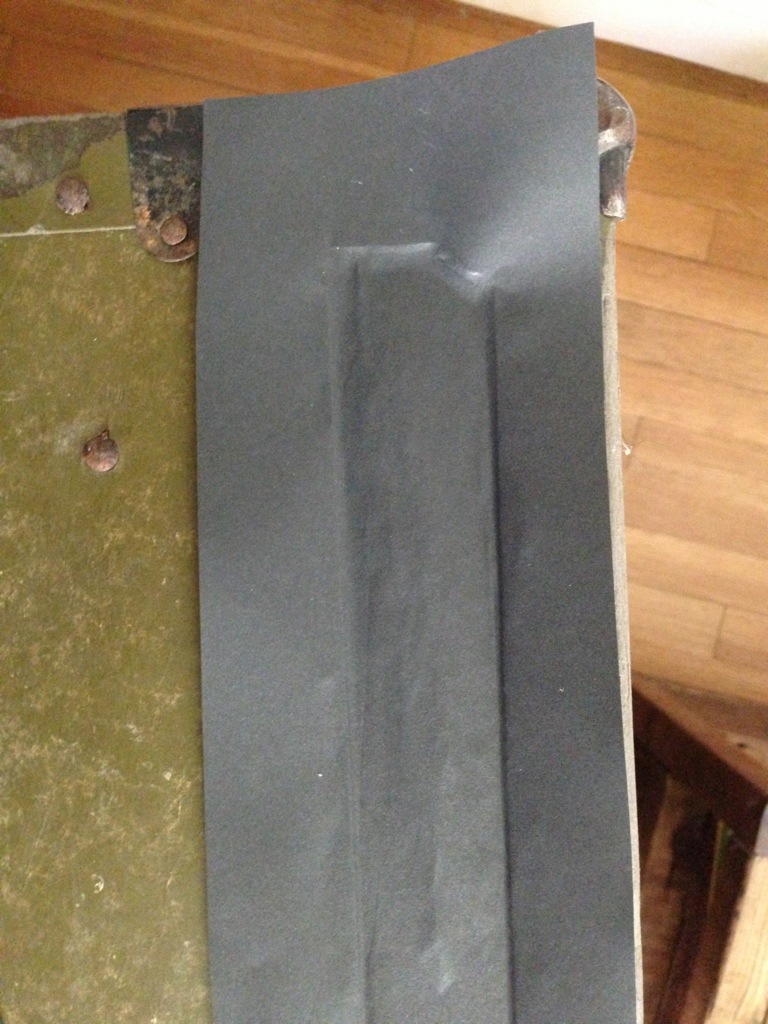
5. Use an Xacto knife to trip off the excess paper by running it down the creases you created in step 3. Simple enough! I decided to cover both the inside and outside of the trunk with the same color of paper, but depending on your color scheme, it would be fun to use different papers for the interior and exterior. Here is my finished trunk:
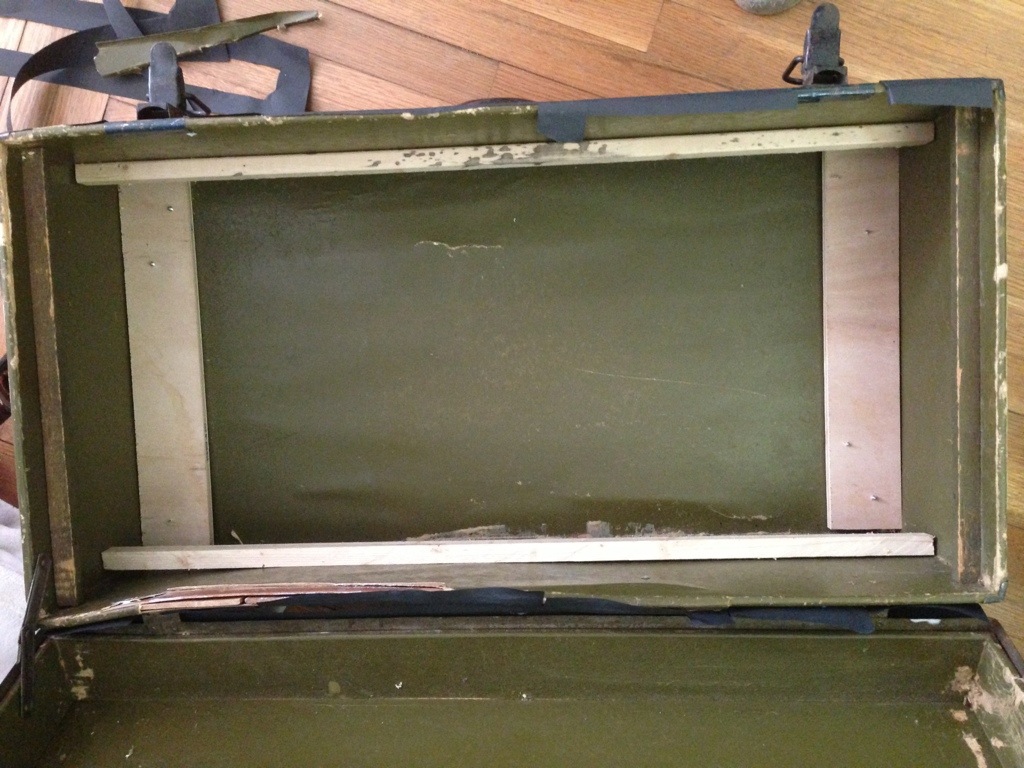
I wanted to add casters and an interior tray to mine, so I added some support on the inside of the box. Chris helped me cut and place to 1x3s in the bottom to brace in casters, and we placed 1x1s on the sides to act as rails for the new tray.
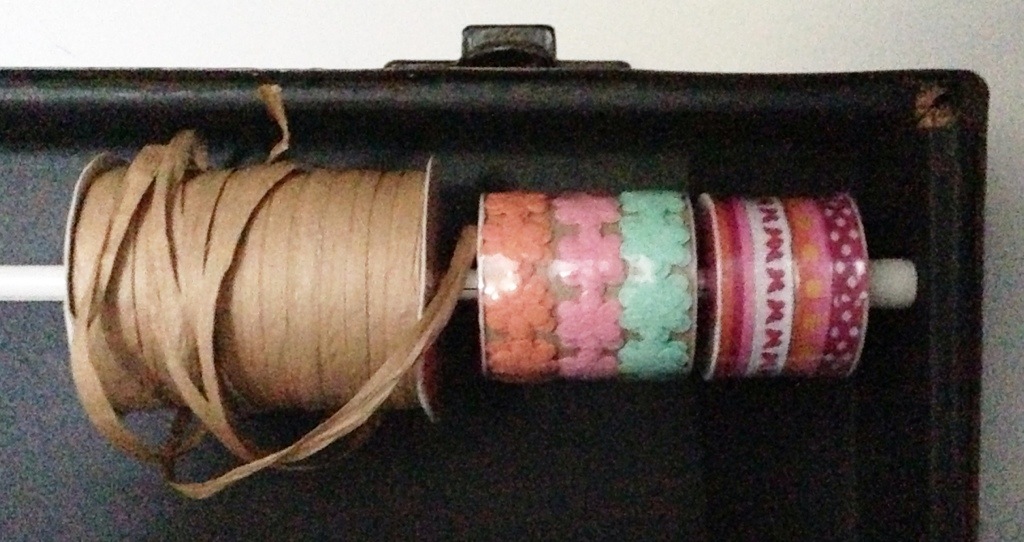
I also added cheap spring-loaded curtain rods inside the lid to hold spools of ribbon and other odds and ends.
The last step is to complete the interior tray and divider boxes — hopefully in the next night or two.

6 Comments
it’s beautiful!!! 🙂
[Reply]
Dee Reply:
April 30th, 2013 at 12:41 pm
Thanks, Keli! 🙂
[Reply]
what did you use for the wrapping paper on wall to hold it? looks awesome!
[Reply]
I found the link to this story from Real Simple, in case you wanted to check it out!!!
[Reply]
I found the link to this story from Real Simple, in case you wanted to check it out!!!
https://www.realsimple.com/home-organizing/decorating/craft-room-ideas#organized-sewing-room
[Reply]
Dee Reply:
March 23rd, 2018 at 4:15 pm
Thank you for sharing!
[Reply]