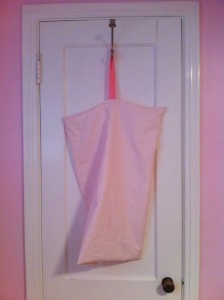
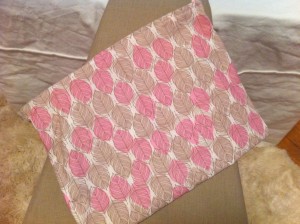
A necessary part of the cloth diapering adventure is {apparently} having wet bags readily available. At the very least, I’ve been told I need one in the nursery, one by the toilet, and one in the diaper bag.

I finished sewing this large wet bag for the nursery last week. (I also sewed a matching diaper pail liner — see this tutorial). Then, I sewed a smaller wet bag for the diaper bag.

Wet bags are not nearly as hard to make as you might think. Here’s a quick tutorial so you can make your own:
For a small or medium sized wetbag, you will need:
- 1/2 yard fabric
- 1/2 yard PUL or waterproof fabric
- Zipper to fit length of wet bag – 14″ should be long enough
- Thread to match fabric
1. First, cut two rectangles of equal size – one from the fabric, and one from the PUL. Cut on the fold so that you only have to sew two sides of the bag.
2. Fold the fabric in half, with right sides facing together. Sew the sides (and bottom if necessary,) leaving the top un-sewn.
3. Repeat step two with the PUL.
4. Turn one rectangle inside out and fit the other rectangle inside of it so that the right sides of each pocket are facing together.
5. Sew the un-sewn edges together, leaving a 3″ open seam.
6. Turn the bag inside out and press the PUL pocket into the fabric pocket. Sew the open seam closed. Use a point turner to square up the corners.
7. Sew on your zipper. (I am not an expert at zippers yet, but I found sewing one side with the zipper closed and the second side with it open seams to work best for me. Good luck!)
8. You can also add a tag or loop to your bag so that you can hang it on a hook, your stroller, et cetera.

No Comments